


How to start an online store before Diwali 2026 — in one evening, free
Yes, you can open an online store before Diwali, and the setup fits in one evening. Diwali is on Sunday 8 November 2026 and Dhanteras on Friday 6 November. If your products, prices and photos are ready, you can pick a template, add your products, turn on UPI and cash on delivery, set a delivery charge and publish tonight. On SitesPlaced that costs ₹0, and there is no commission on what you sell.
Key takeaway: the store is the quick part. What takes longer is stock, packaging, your courier’s last pickup date and telling people the store exists. So open the store first, tonight, in six steps: template, products, payments, delivery, publish, share. Then spend the weeks you have left on the slow parts, with a link you can already send to buyers.
TL;DR
- • Template: pick the one made for what you sell. It can’t be changed later without making a new store.
- • Products: start with 8 to 12 festive products, or import them from a public Instagram profile and fix the prices.
- • Payments: cash on delivery, direct UPI and WhatsApp orders work tonight. Apply for a payment gateway alongside.
- • Delivery: one flat charge, free delivery above an order value, and a free option for buyers in your own city.
- • Publish: place a test order on your phone first. Publishing is free.
- • First week: share every day, answer every question on the store itself, and publish your last order date.
What to have ready before you sit down
The evening goes quickly if these are already on your phone or on paper:
- • 8 to 12 products you can really deliver before Diwali, each with a price.
- • Photos of each product, taken in daylight.
- • How many of each you have or can make in time.
- • Your WhatsApp number and your UPI ID.
- • A store name and a short version of it for your address.
- • One decision: what you will charge for delivery, and how far you will ship.
Not sure what to sell yet? Start with Diwali business ideas you can start from home, and price each product with the free product pricing calculator so packaging and delivery are inside the price.
The evening at a glance
| Step | Where on SitesPlaced | Example time |
|---|---|---|
| 1. Pick a template | Dashboard → New Site → Ecommerce Store | 10 minutes |
| 2. Add or import products | Products tab, or the importer at sitesplaced.com/import | 75 minutes |
| 3. Turn on UPI, COD and WhatsApp orders | Settings → Checkout and Settings → Payments & invoices | 15 minutes |
| 4. Set delivery | Settings → Shipping | 10 minutes |
| 5. Test, then publish | Open Store, then Publish | 20 minutes |
| 6. Share the link | Home tab → Share store link and the store QR code | 15 minutes |
The times are an example for a store with ten products whose photos and prices are ready. They add up to about two and a half hours. A bigger range takes longer.
Step 1: pick a template
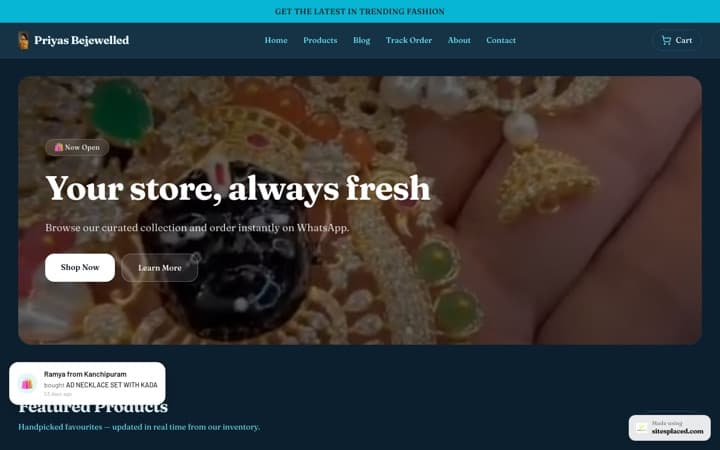
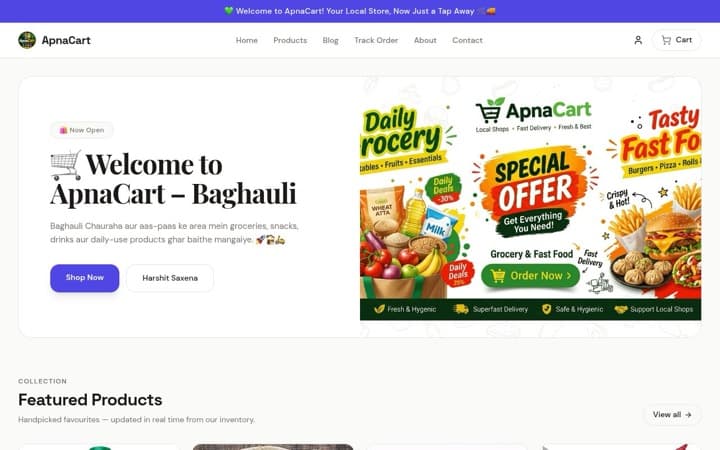
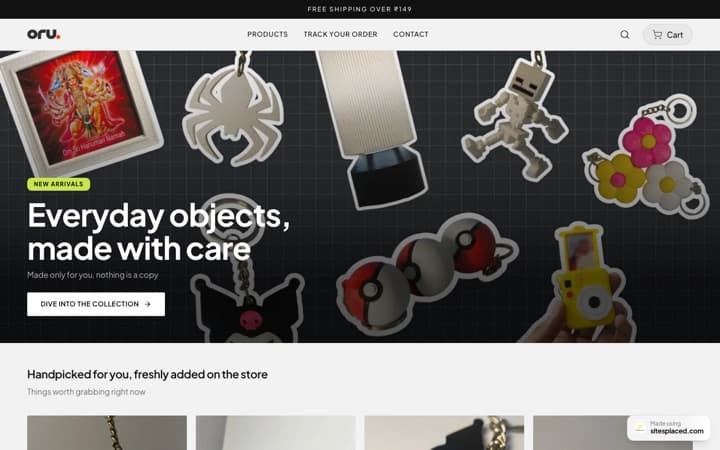
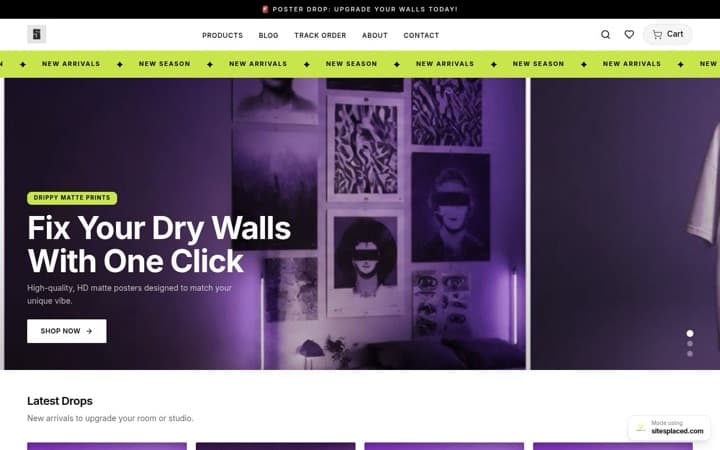
A template is the ready-made design of your store: where the photos sit, how a product page is laid out, what the first screen shows. SitesPlaced has 16 store templates and all of them are free. Sign in, press New Site, choose Ecommerce Store, type your store name and the short name for your address, and choose a template.
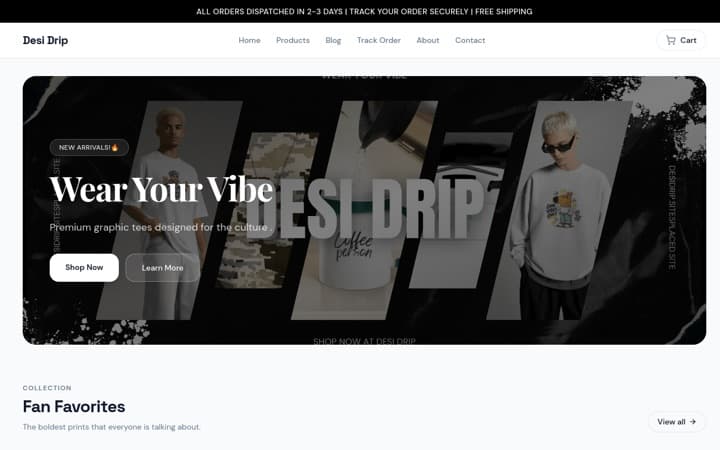
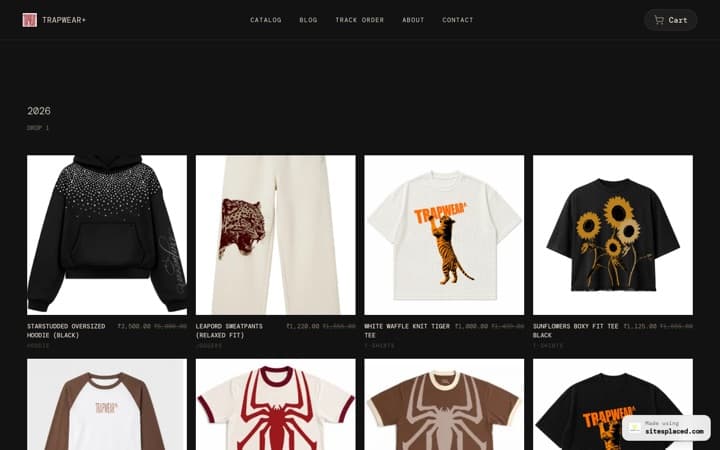
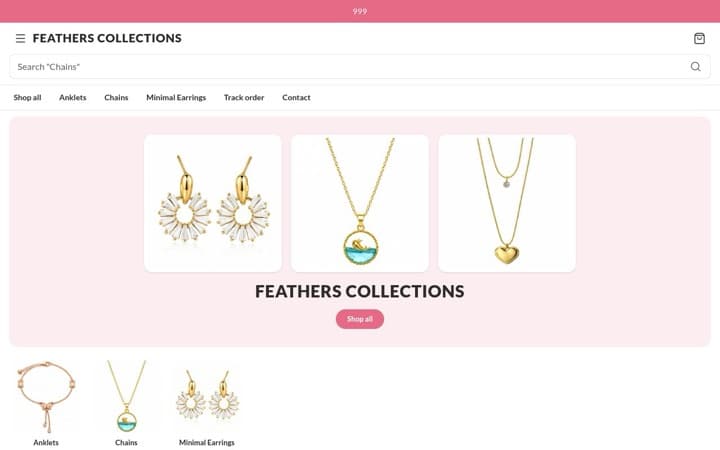
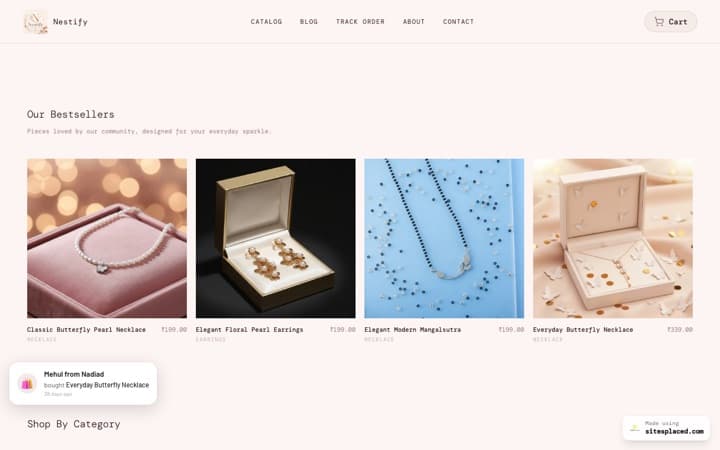
Pick by what you sell. The Gifts & Lifestyle Store suits hampers and gift boxes. The Food Store suits sweets, snacks and dry fruits. The Home & Decor Store suits diyas, candles and décor. There are also stores for jewellery, clothing, beauty, footwear, wellness, electronics, pets and furniture, and a General Store that suits anything. You can see each one as a working shop on the store templates page.
Two things to know before you choose. First, the template is fixed once the store exists. You can change colours, fonts, text and the order of sections, but moving to another template means making a new store. Second, adding to cart straight from the product list, a buy bar that stays on screen on phones, and a delivery and COD line under the buy button are on the eleven brand-style templates and the General Store. They are not on the Premium, Simple Fashion, Grocery or Astrology templates.
Your store gets a free address like yourbrand.sitesplaced.site. An address that sits under another site’s name like this is called a subdomain. It works on every phone and can take orders. Your own address, like yourbrand.com, comes with the Starter plan.
Step 2: add your products, or import them from Instagram
By hand.Open the Products tab and add each product: name, price, photos, a short description and a category. Write the description for someone buying a gift: what is in the box, the size or weight, and how it arrives. If you have a fixed number of something, turn on stock tracking under Settings → Catalog & fields and type the count on each product. Checkout refuses to sell more than you have, so twelve hampers can’t become fifteen orders.
By import. If you already post your products on Instagram, the free store importer can build the store for you. Enter your Instagram handle (the profile must be public), choose a template, and it turns your recent image posts into products, with each caption as the description. It can also read an existing website or a PDF price list.
Check the result before you share anything. A price is filled in only when the caption states it clearly. Otherwise the product is created at ₹0, and you type the real price. Delete any posts that were not products. More in turning an Instagram page into a website.
Either way, make one category called Diwali Gifts and put your festive products in it. Every category has its own link, so your status updates and bio can point straight at the festive range.
Step 3: turn on UPI and cash on delivery
There are four ways a buyer can order and pay, and all four are on the free plan. You can switch on any mix under Settings → Checkout.
- Cash on delivery (COD). The buyer pays in cash when the parcel arrives. Many first-time buyers prefer it because they have not bought from you before. You can add an extra COD charge so that paying online is cheaper.
- Pay the store directly by UPI or bank transfer. The buyer places the order, then sees your UPI ID on the order-placed screen and in their email, and pays from their own app. Fill in your UPI ID under Settings → Payments & invoices.
- WhatsApp checkout. The buyer’s cart is sent to your WhatsApp as a ready-written message, and the order is saved in your Orders tab. You settle the payment in the chat.
- Online payment through a gateway. A payment gateway is the service that takes a buyer’s UPI, card or net banking payment and sends the money to your bank. You connect your own Razorpay, PhonePe or Cashfree account under Settings → Integrations, and the order arrives already marked as paid.
A gateway reviews a new store before it approves it, and that can take a few days. So tonight, turn on COD, direct UPI and WhatsApp checkout, and apply for a gateway alongside. When it is approved, connect it; nothing else has to change. SitesPlaced takes 0% of any payment. The gateway charges its own fee on online payments. Read how to accept UPI payments on your website and Razorpay vs PhonePe vs Cashfree before you pick one.
Step 4: set delivery
Open Settings → Shipping. A store has one flat delivery charge, so choose a figure that covers your average parcel. Then set Free delivery above an order value if you want one. Once both are filled in, the cart shows a progress bar (“add ₹200 more for free delivery”), which nudges a buyer to add one more gift.
If you will deliver by hand in your own city, switch on the waiver checkbox and word it as a question, for example “Are you in Jaipur? Tick for free local delivery.” The charge becomes ₹0 when a buyer ticks it, so check the address on each order before you confirm it. There is also an express option at a higher charge, to use only if your courier can really keep the promise.
Now the most important call of the season: ask your courier for the last pickup date that still reaches each zone before 8 November. Every courier sets its own festive dates, so we don’t list any. You can book couriers through Shiprocket or Shipmozo from your orders (free to connect under Settings → Integrations), or ship yourself. How to choose the charge is covered in how to set shipping charges.
Step 5: test, then publish
Press Open Store and go through it on your phone as a stranger would. Find a product, add it to the cart, and place a test order with each payment method you switched on. Check that the order appears in your Orders tab and that the order email reaches you. Fix whatever surprised you: a missing price, a delivery charge you did not expect, a photo that is cut off.
Then press Publish. It is free and the store is live at once, with a small SitesPlaced badge on it. You can unpublish at any time, and your products and settings are kept.
Step 6: share the link
A new store has no visitors until you send some. Put the link in your Instagram bio and your WhatsApp Business profile. Post one product with its price and the link on your WhatsApp status. Send the link personally to the people who have bought from you or asked about your products before. Download the store QR code from the Home tab for your packaging and visiting cards.
The full method for a store with no audience yet is in how a new store gets its first Diwali orders.
Twenty more minutes: the Diwali settings
These are all on the free plan, and each one answers a question a gift buyer would otherwise message you about.
- Your last order date, at the top of every page. Type it into the announcement bar under Settings → Branding, as a date, for example “Order by 28 October for delivery before Diwali”. Use the date you worked out from your own courier. You edit this bar by hand, so change the wording yourself when the date passes.
- A gift message. Under Settings → Checkout, show the Order Notes field and rename it “Gift message”.
- Gift wrapping as a paid extra. On a product, open Personalisation & extras and add an extra such as “Gift wrapping +₹80”. Buyers tick it in the cart.
- One coupon with an expiry date. Settings → Discounts. The code stops working by itself after the date you choose. See Diwali sale ideas that don’t eat your profit.
- A build-your-own hamper page. Settings → Sales boosters. Buyers pick the items, you set the price by the number of items, and a packaging product is added to every hamper. The details are in how to sell Diwali gift hampers online.
What to do in the first week after you open
- Share something every day. One product, its price and the link, on your status and your stories.
- Turn every question into a line on the store. If three people ask “do you deliver to Pune?”, the answer belongs on the product page or in your shipping policy.
- Rewrite the policies in your own words. Every store starts with four starter policies under Settings → Pages & policies. The free return policy generator drafts the returns one. A payment gateway may ask to see these pages when it reviews your store.
- Connect the gateway when it is approved. Place one small real payment to check it.
- Send the first orders out the same day. Then ask each buyer to tell one person who is still looking for gifts.
If you have a full week and want each day planned, use the 7-day plan to open your Diwali store. For everything between now and 8 November, week by week, keep the Diwali 2026 checklist and the Diwali plan for online sellers open. If you are reading this in late October, read is it too late to start a Diwali business first. The money side is in what a Diwali online store costs, and the traps are in 8 mistakes that cost new stores their Diwali sales.
What is free, and what a paid plan adds
| What you get | Plan | Price |
|---|---|---|
| A live store, unlimited products and orders, UPI, COD, WhatsApp checkout, coupons, the hamper page, couriers | Free | ₹0, 0% commission |
| Your own domain, no SitesPlaced badge, store pages that answer about 4× faster, store analytics | Starter | ₹199/month |
| Buy X Get Y offers, slide-out cart with upsells, frequently bought together, reviews, loyalty | Growth | ₹499/month |
| Promotions that start and end on a timer, campaign planner, creative studio, broadcasts | AI Co-founder | ₹1,499/month |
You can run your whole first Diwali on the free plan. If you do pay, the part that matters most in a festive rush is speed. On every paid plan, Starter and up, a store’s pages answer about 4× faster than on the free plan: about 75 ms instead of about 330 ms, measured on 28 September 2026 on live paid stores. “Answer” means the moment the page starts arriving on the shopper’s phone, before the photos load. It helps when a status update or a broadcast sends many people to your store on mobile data at the same time. Price and stock changes still show at once.
There is one offer: the code FREE7 gives 7 days free on Starter or Growth when you set up autopay. Cancel before the first charge and you pay nothing. On Starter and up, a dedicated setup person helps you connect your gateway, courier and domain.
Why not just use Instagram DMs or a marketplace?
Instagram DMs and WhatsApp cost nothing and are the best place to talk to buyers. But every order needs you to reply, quote a price, collect an address and check a payment screenshot, and in a busy fortnight some of those chats are never finished. Marketplaces bring their own shoppers, which a new store does not have. In return they charge fees on each sale and set the rules. Other store builders such as Shopify, Wix and Dukaan are capable tools; check what their plans cost today and which features are add-ons.
Our verdict: for a first Diwali with a small range, open a free SitesPlaced store and keep using Instagram and WhatsApp to send people to it. Buyers see the price, choose COD or UPI and place the order themselves, you keep every rupee of the sale apart from the gateway’s fee, and the customer list is yours after Diwali.
Frequently asked questions
Can I really open an online store in one evening?
Yes, if your products, prices and photos are ready before you sit down. Creating the store takes a few minutes. Most of the evening goes into adding products and checking each price. Stock, packaging and telling people about the store take longer than an evening, which is why it helps to open the store first.
Is it free to open a Diwali store on SitesPlaced?
Yes. The free plan is ₹0 with 0% commission, unlimited products and orders, cash on delivery, WhatsApp checkout, coupons and online payments through your own Razorpay, PhonePe or Cashfree account. Your store lives on a free address like yourbrand.sitesplaced.site and carries a small SitesPlaced badge. If you take online payments, the payment gateway charges its own fee.
Can I import my products from Instagram?
Yes, and it is free. The importer reads a public Instagram profile and turns recent image posts into products, with the caption as the description. A price is only filled in when the caption states it clearly. Otherwise the product is created at ₹0, so check every price before you share your link.
How do I take payments if my payment gateway is not approved yet?
Turn on cash on delivery, WhatsApp checkout and “Pay with UPI / Bank Transfer” in Settings → Checkout. With the last one, the buyer places the order and then sees your UPI ID on the order-placed screen and in their email. You can add Razorpay, PhonePe or Cashfree later without changing anything else.
When should I stop taking orders for delivery before Diwali?
Ask your courier for the last pickup date that still reaches each zone before 8 November 2026, then subtract the days you need to pack. That is your last order date. Every courier sets its own date, so we do not list one. Put your date in the announcement bar at the top of your store.
Can I change my store template later?
No. The template is fixed when the store is created, so changing it means making a new store. Colours, fonts, logo, text and the order of sections can all be changed on the template you have. Look at the live demos before you choose.
Open your Diwali store tonight, free
16 free templates, unlimited products and orders, UPI, cash on delivery and WhatsApp checkout, at 0% commission. Stuck on a step? Message us on WhatsApp at 9517156355.