


How to connect Razorpay to your ecommerce website
Getting activated, choosing between OAuth and API keys, and the settlement timeline nobody mentions until your first payout is late.
The short version: get your Razorpay account through KYC, then connect it to your store either with OAuth (one click, no keys to copy) or with a Key ID and Key Secret from Settings → API Keys. Add a webhook so payments still land when a customer closes the tab. The most common surprise is not technical at all — it is that your first settlement takes longer than you expect.
TL;DR
- • Razorpay needs KYC before it will accept live payments. Test mode works immediately; live mode does not.
- • OAuth is the better connection method where a platform offers it — there is no secret for you to handle or leak.
- • Amounts go to Razorpay in paise. ₹499 is 49900, not 499.
- • Always verify the payment signature server-side. Never mark an order paid on the browser's word.
- • Set up the webhook. It is what saves the order when a customer pays and closes the tab.
Step 1 — Get through KYC first
Razorpay gives you a test-mode account the moment you sign up, and it is genuinely useful — you can build and rehearse the entire checkout with their test cards and UPI IDs before submitting a single document.
Live payments are a different matter. Razorpay needs KYC: business details, PAN, a bank account, and depending on your business type, GST or proof of address. This is a regulatory requirement rather than Razorpay being difficult, and it is the step that decides whether you can take money at all.
Two practical notes. First, you do not have to wait idle — cash on delivery and WhatsApp checkout need no gateway, so a store can be live and taking orders while KYC is in review. Second, if Razorpay declines you, that is not the end of it: PhonePe and Cashfree approve a different, overlapping set of merchants, and it costs nothing to apply to more than one.
Step 2 — OAuth or API keys?
There are two ways to connect Razorpay to a store, and the difference matters more than most guides admit.
| OAuth | API keys | |
|---|---|---|
| How you connect | Sign in at Razorpay and approve | Copy a Key ID and Key Secret |
| What the platform stores | A token you can revoke from Razorpay | Your account's secret key |
| Revoking access | One click in your Razorpay dashboard | Regenerate the key, which breaks anything else using it |
| Risk if the platform leaks data | Token is scoped and revocable | A working secret for your account |
If your platform offers OAuth, use it. There is no secret for you to paste, store, or worry about — and revoking access is a single click on Razorpay's side rather than a key rotation that breaks every other integration you have.
On SitesPlaced, Razorpay connects over OAuth from Settings → Integrations: you click Connect with Razorpay, sign in, approve, and you are done. There are no keys to copy at any point.
If you are pasting keys anywhere, check what you are pasting. Razorpay's Key Secret is shown exactly once, when you generate it. If a tool asks you to paste it, that tool can do anything your account can do. That is normal for a self-built integration and worth a second thought for a third-party one.
Step 3 — If you are building it yourself
A correct Razorpay integration is four pieces, and the third is the one people get wrong:
- Create an order server-side with the amount in paise. Razorpay returns an order id.
- Open Razorpay's checkout modal in the browser with that order id. The customer pays there; card details never touch your site.
- Verify the signature Razorpay returns, server-side, against your Key Secret — and check the signed order id is the exact order you created. This is the step that stops someone marking any order paid with a fabricated payment id.
- Handle the webhook, for the customer who pays and never comes back.
Two details that cause real money bugs. Amounts are in paise, so ₹499.50 is 49950 — sending 499.5 charges someone ₹4.99. And binding the verification to the specific order matters: verifying only that a signature is valid, without checking which order it was for, is how a ₹99 payment gets used to unlock a ₹5,000 order.
Step 4 — Set up the webhook
The scenario this solves: a customer pays, their phone switches from wifi to mobile data on the way back, and your store never hears that the money moved. The order sits pending. You find out when they message you asking where their parcel is.
In your Razorpay dashboard, open Settings → Webhooks, add your store's webhook URL, set a secret, and subscribe to the payment events your store needs — at minimum payment captured and payment failed. Razorpay signs every webhook with that secret, so your handler can prove the message really came from Razorpay before acting on it.
Step 5 — Test properly, then check the money
Razorpay's test mode accepts published test cards and UPI IDs, so rehearse there first. Then place one real order for the smallest amount you can and check four things, not one:
- • The order shows as paid with the Razorpay payment id recorded against it.
- • The amount matches your Razorpay dashboard exactly — this is where a paise mix-up surfaces.
- • Close the tab right after paying. This is the only real test of your webhook, and it is the one everybody skips.
- • Check the settlement date on the payment. This is the part that surprises people.
New Razorpay accounts typically settle on a T+2 or T+3 cycle, and the very first settlement often takes longer while the account is being reviewed. That is normal and not a sign anything is broken — but if you have promised yourself the money will be in the bank the next morning, plan for it.
The errors you are most likely to hit
| Symptom | Usual cause |
|---|---|
| Works in test, fails in live | KYC not complete, or test keys pointed at the live endpoint. |
| Every customer charged 100× too little | Rupees sent where paise were expected. |
| Signature verification always fails | Verifying against the wrong secret, or verifying a re-serialised payload rather than the exact string Razorpay signed. |
| Orders stuck pending after real payments | No webhook configured. |
| Checkout modal never opens | An ad blocker, or a Content-Security-Policy that does not allow Razorpay's script and iframe. |
If you do not have the website yet
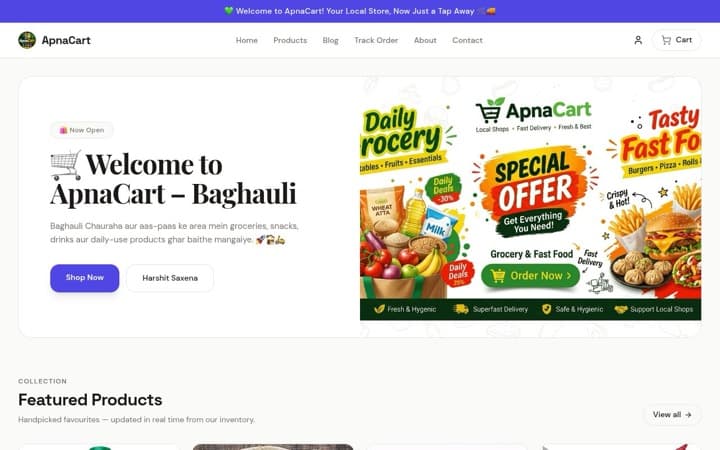
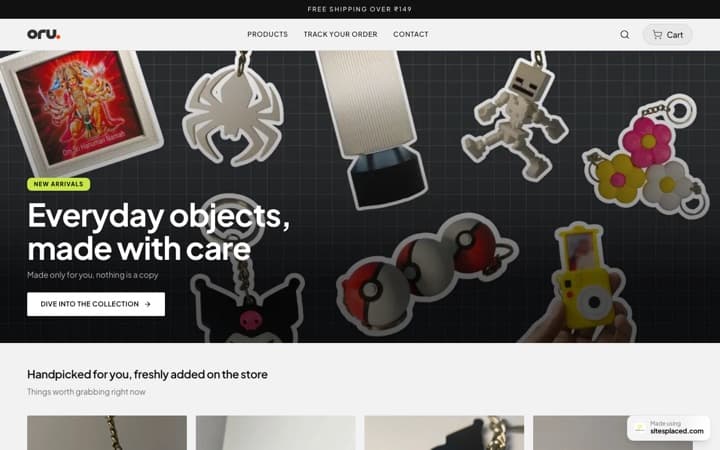
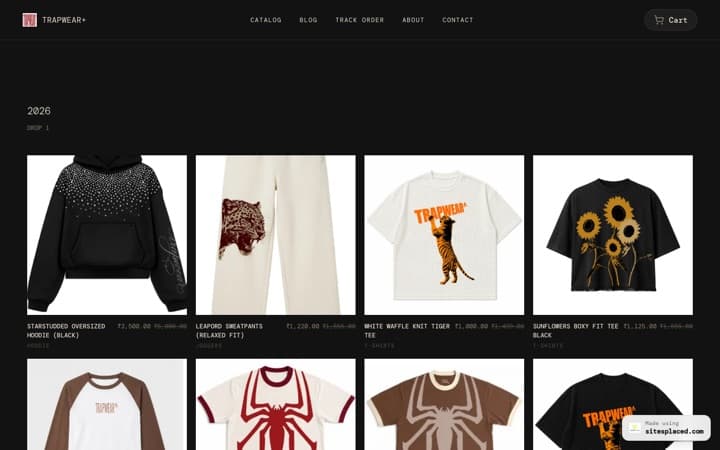
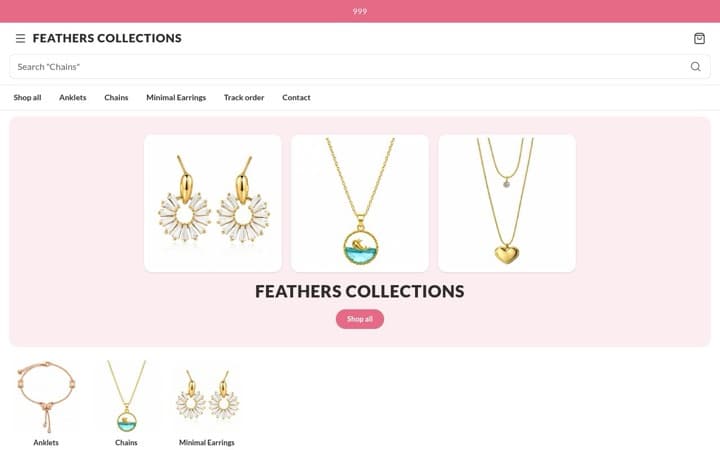
Everything above assumes you have an ecommerce site to connect Razorpay to. If you are still taking orders in Instagram DMs, the gateway is the easy half — the store is the part worth getting right.
A SitesPlaced store is free to build and publish, and Razorpay, PhonePe and Cashfree are all on the free plan with 0% commission — the gateway's own fee is the only cut anyone takes. Razorpay connects over OAuth, so there is no key to copy, and you can import your catalogue straight from Instagram rather than typing products in one at a time.
The step-by-step version with exact dashboard paths: set up payments.
Frequently asked questions
How long does Razorpay KYC take?
Usually a few working days once you have submitted everything, though it varies with business type and how clean the documents are. Test mode works immediately, so you can build and rehearse the whole checkout while you wait.
Do I need GST registration to use Razorpay?
Not always. Many small sellers are onboarded without GST depending on business type and category, but Razorpay decides case by case. If they decline, PhonePe and Cashfree approve a different overlapping set of merchants and cost nothing to apply to.
Should I use OAuth or API keys?
OAuth wherever it is offered. There is no secret for you to handle, and you can revoke access with one click in your Razorpay dashboard rather than rotating a key that breaks every other integration.
Why is my Razorpay amount wrong by 100×?
Razorpay takes amounts in paise. ₹499 is 49900, not 499. This is the single most common integration bug, and it is silent — the payment succeeds, just for the wrong amount.
When does Razorpay settle the money to my bank?
Typically on a T+2 or T+3 cycle for a new account, and the first settlement often takes longer while the account is reviewed. Check the settlement date on the payment in your dashboard rather than assuming next-day.
Do I need a webhook if the payment already confirms on the return?
Yes. The return path only fires if the customer's browser makes it back. The webhook is what saves the order when they pay and close the tab, which happens often enough on mobile to matter.
Skip the integration work entirely
Build the store free, connect Razorpay with one click over OAuth. PhonePe and Cashfree are on the free plan too, all at 0% commission.